3D Scanning in the Museum
In a previous edition, we talked about digitizing museum collections through 3D scanning. While our focus then was more on the question of why, here we'll dive into the question of how, and, more importantly, how to achieve the best results. Scanning and digitizing collections has become an important topic in recent years, as it ensures the preservation and accessibility of culturally and scientifically important objects for generations to come.
The Technical Approach
There are multiple different scanning technologies to choose from when approaching a project. While laser, structured light, CT and contact scanning all have their own advantages, photogrammetry comes out as the most optimal for the job. This method provides a high quality geometric mesh, as well as absolute photorealistic texture for life-like models.
For the best results, you typically need high-quality images from as many perspectives as possible, evenly distributed around the object. Lighting plays a central role in model quality; you want homogeneous lighting for the best geometry and texture.
With photogrammetry, it is always recommended to invest in high-quality cameras and lenses. That then begs the question: consumer or industrial cameras? While industrial cameras can provide incredible image quality, they come with high costs and can be difficult to replace if broken. Premium consumer cameras overcome this, being readily available, replaceable and can also be used independently.
Number of Cameras - The Balance between Budget and Time
The fastest solution for photogrammetry is to use as many synchronized cameras as possible, though this comes with the highest costs, as professional photogrammetry rigs can operate with upwards of 160 cameras.
At the other extreme, a single, extremely high-quality camera mounted on an intelligent robotic arm can be used. This approach, however, takes an exceptionally long time (often several hours per object) and requires extensive control technology and software.
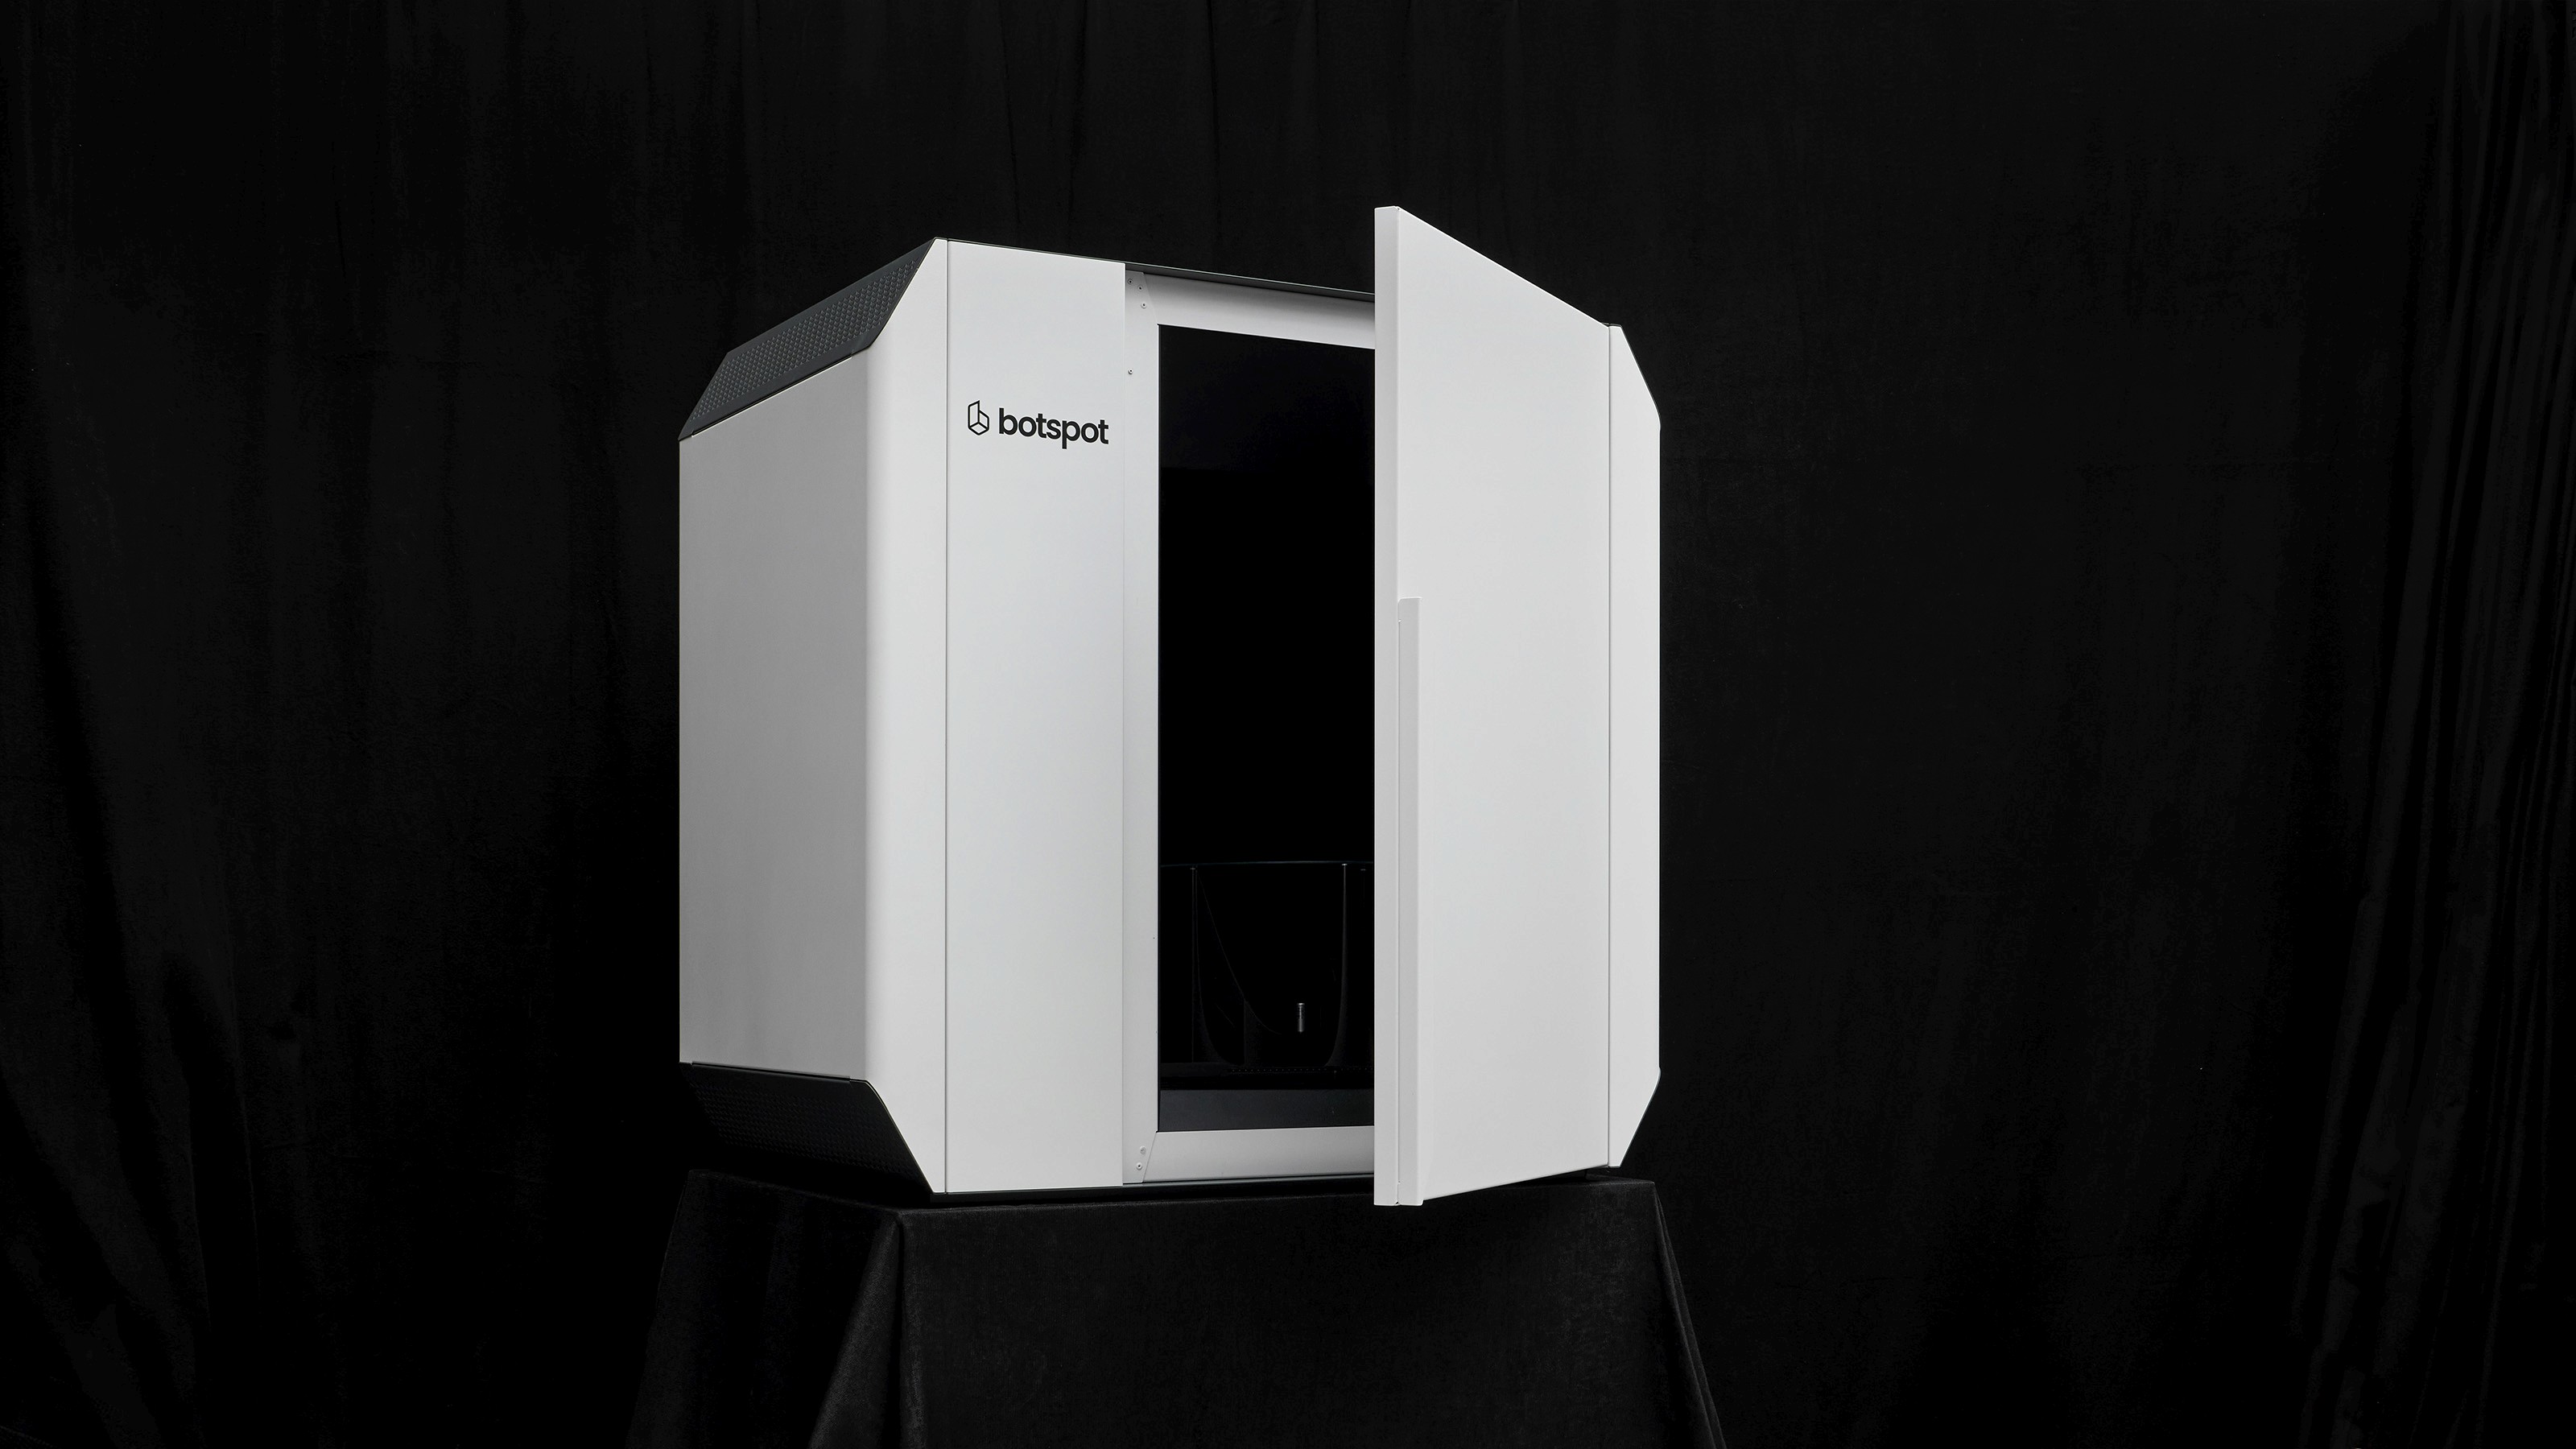
Following our experience and expertise, the best compromise in terms of model quality, scan speed and price is a camera arm equipped with 5 to 7 cameras combined with a transparent, anti-reflective museum glass turntable.
Example calculation:
12 rotation steps at 30° x 7 cameras = 84 images
24 rotation steps at 15° x 7 cameras = 168 images
48 rotation steps at 7.5° x 7 cameras = 336 images
Photogrammetry Software
3D scanners from botspot provide the optimal data basis for any commercially available photogrammetry software. Our customers usually work with RealityCapture or Agisoft Metashape and we offer custom automation scripts, so that even inexperienced users can quickly and reliably achieve reproducible, high-quality results.
Taking Model Quality to the Next Level
Building from basic functionality, several technological measures can be taken to elevate model quality and push the boundaries of what can be scanned, making once-impossible captures a reality:
Digital Spray
Homogeneous, monochrome, and glossy surfaces are generally considered unscannable in photogrammetry, as 3D modeling software cannot identify distinct visual features that serve as reliable reference points for model calculation.
In industrial or commercial applications, this problem is often solved by spraying the object with a colored or matte coating, which – for obvious reasons – is not an option in a museum context. "Digital Spray" technology, developed by botspot, solves this issue. Several pattern projectors briefly project a diffuse pattern onto the object's surface, creating reference points on surfaces that have none.
For this system to work, two sets of images are taken during the scan: one under "normal" lighting conditions, then another a fraction of a second later with the pattern projection. The photogrammetry software then uses the set of pattern projection images to align the individual images in three-dimensional space for the model's geometry. The other set of images, taken under normal lighting, is used to calculate the texture, enabling the photorealistic reconstruction of the surface.
Focus Stacking
As spoken about in this previous article, focus stacking can be used for extremely precise details. A series of images are captured per camera position, shifting the focal plane successively across the entire image area. These individual images are then combined into a single image where all depth levels appear fully sharp.
These images can be used for high detail 2D photo documentation (e.g., standard views for type specimens and/or 360° photo documentation) and can also serve as the basis for 3D model computation, achieving models with unprecedented detail depth.
The amount of data is automatically reduced again by synthesizing the individual images into a single image. You can use the presets to freely decide whether the individual images underlying the stacked image should be automatically deleted after focus stacking (to reduce the amount of data) or saved for documentation purposes.
Gaussian Splatting
For fine detail of fur or hair, or for objects with highly challenging optical 3D representation properties (transparencies, reflections, light refraction, etc.) such as glass or metal, "classic" mesh-based 3D formats quickly reach their limits, resulting in unnatural renderings.
One solution is the use of Gaussian Splatting, which enables a truly lifelike representation, be it to make the data available to the international research community so that one does not have to fly halfway around the globe to study an object, or to curate virtual exhibitions for visitors.
In addition to the standard view as a classic 3D model, the botspot 3D scan software also offers a view as a Gaussian splat. However, it is of course possible to carry out further model calculations at any time based on the data in any 3D reconstruction software (Reality Capture, Metashape, 3DF Zephyr, etc.).
Preparation and Workflow
If one does not already exist, it is recommended to develop a data model at the beginning of the project – i.e. a system for the automated naming, processing and storage of data via DOI (digital object identifier) respectively URI (Uniform Resource Identifier) in conjunction with a URL (Uniform Resource Locator) at a defined storage location within the museum's internal network.
Ideally, all objects to be digitized are labelled in advance with a QR code, which is then read in using a QR reader before scanning. This allows a project folder to be automatically created in the defined directory and the data is then named based on the predefined naming convention.
The data generated from botspot's 3D scanners is not only suitable for 3D reconstruction, but also for classic photo documentation or 360° photography. They are therefore suitable for a wide range of applications:
Classic 2D photo documentation
Advanced 2D photo documentation using focus stacking
360° photography
Photogrammetry with 3D polygon models
Photogrammetry with 3D visualization using Gaussian splatting
A further advantage is that any view of the scanned object can later be rendered using the data material without having to photograph the object again.
Questions about Digitizing your Collection?
No matter whether you are a museum, gallery or any other institution – we are happy to advise you when it comes to digitizing your collection, whether in 2D or 3D. Please feel free to contact us!


