Full-Body Scanning: The Journey From Scan to Model
Full-body 3D scanning is a precise, high-resolution method of capturing the complete geometry and texture of a human subject. Whether used for digital doubles, fashion visualization, virtual fitting, or medical documentation, the process involves multiple coordinated stages, from synchronized image capture to model optimization.
This article breaks down the full pipeline of full-body photogrammetry scanning, detailing each step and the technology behind it. As a scan subject, we use our very own calibration mannequin, sporting a custom botspot hoodie.
Step 1: Scan Capture
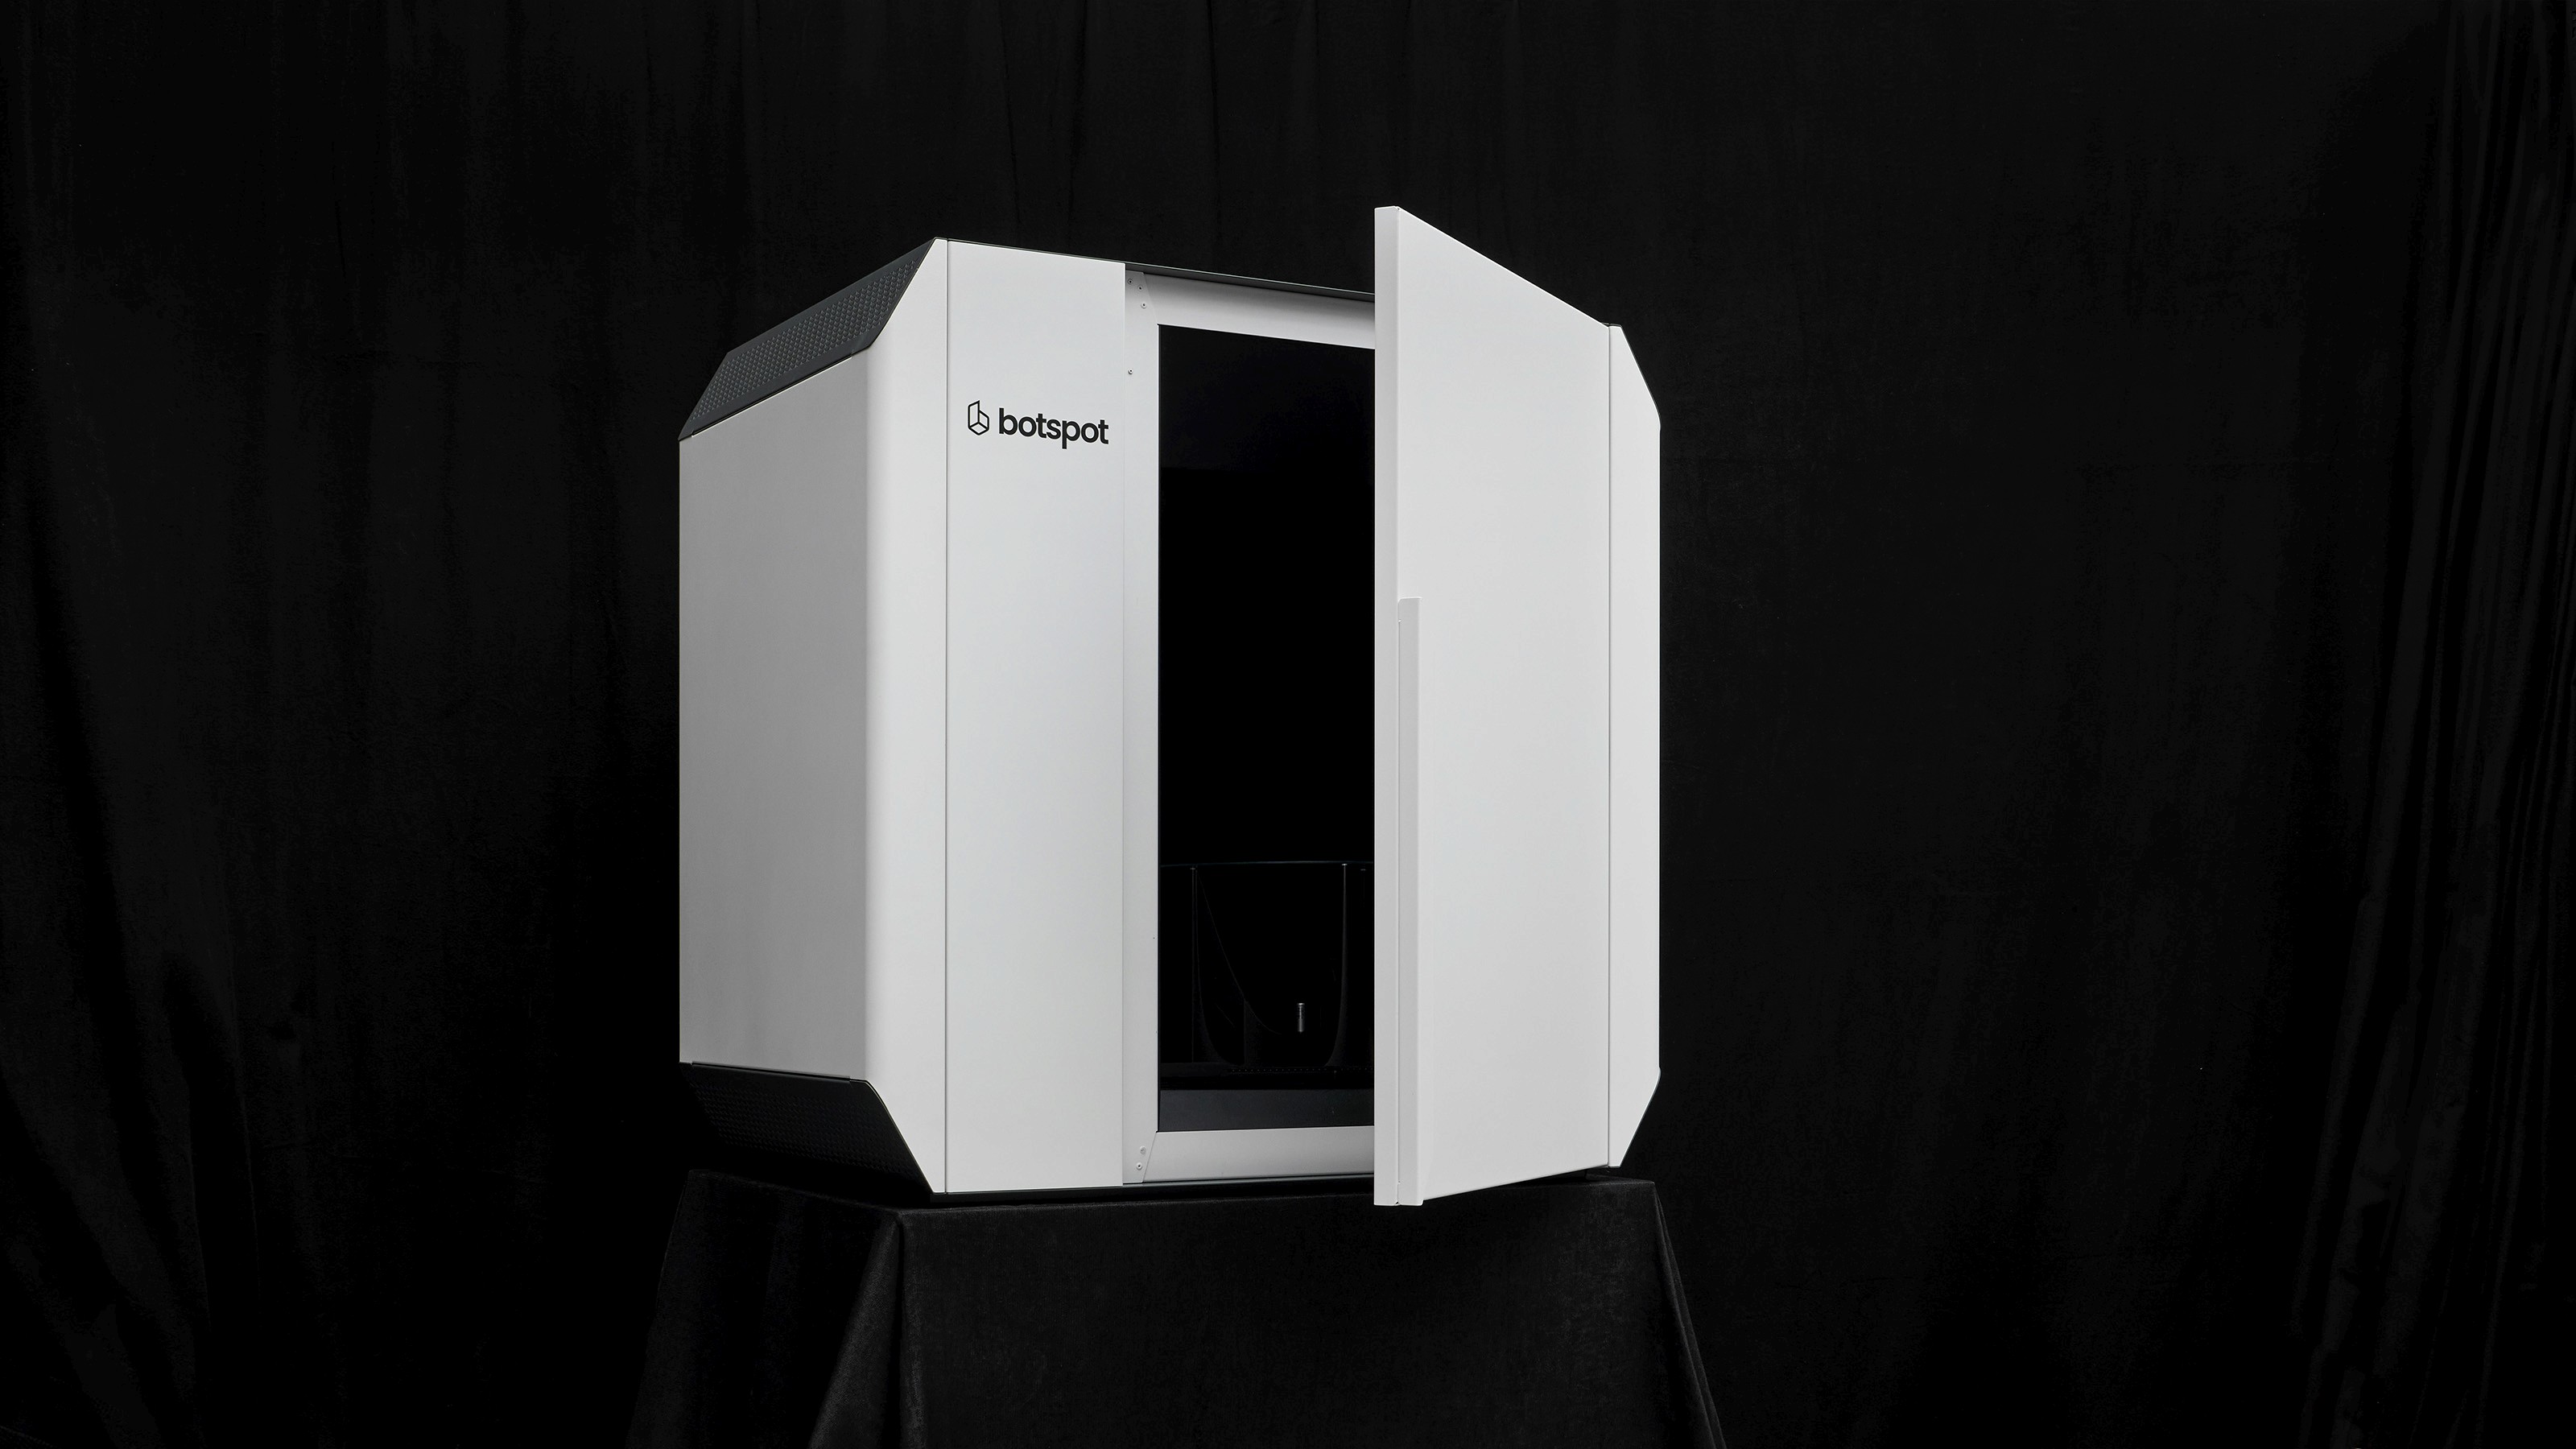
The process begins with a single, instantaneous capture using our NEO, a photogrammetry rig composed of 160 high-resolution cameras. These cameras are positioned to surround the subject from all angles: front, back, sides, and overhead. A second capture is made using our Digital Spray, within a second later. Each camera is calibrated and synchronized to fire at the exact same moment, capturing a complete photographic dataset in a fraction of a second.
The subject stands still in a neutral pose while the cameras fire simultaneously. This synchronized capture ensures consistent lighting, sharp detail, and no motion blur. The lighting setup is carefully calibrated prior to capture. Uniform, diffuse illumination ensures minimal shadows and even exposure across all cameras, which is crucial for photogrammetric consistency.
Step 2: Image Transfer
After the capture, all 320 images are transferred directly to a central processing workstation via USB transfer. Depending on the image file format being used, the dataset can range from several hundred megabytes to multiple gigabytes, and can take between 30 seconds and 2 minutes for transfer to complete. The NEO neatly categorizes both image sets into 2 folders, under the scan name. Efficient data transfer infrastructure is essential for minimizing processing delays and maintaining high throughput, especially in commercial or studio environments.
Step 3: Model Alignment
The images are imported into a photogrammetry software, such as RealityCapture, which aligns the camera positions. This is done by detecting common features across images to calculate the precise spatial position and orientation of each camera.
Accurate alignment is foundational to the success of the final 3D model. Even small alignment errors can introduce distortion, especially in areas like hands, facial features or between limbs where self-occlusion is common.
This results in the generation of a sparse point cloud, which defines the basic geometry of the scanned subject:

Step 4: Mesh Reconstruction
With the mesh complete, the next step is to apply textures. RealityCapture uses the original photographs to project color information back onto the model’s surface. This process generates high-resolution texture maps, typically in the form of UV-mapped image files (e.g., JPG or PNG), which are wrapped around the 3D geometry.
Once the camera positions are established, the software proceeds to build a high-density 3D mesh. This mesh is a triangulated surface built from the spatial relationships between the millions of points detected during alignment.
Depending on the capture quality, this raw mesh can include fine details such as fabric folds and facial features. The output is a high-resolution, raw 3D model of the subject, with full geometry captured from all visible angles:

During this stage, algorithms compensate for minor inconsistencies in lighting and texture by focusing on spatial correlation, ensuring the surface geometry remains coherent even in low-detail areas such as the undersides of limbs or along the torso.
Step 5: Texture Mapping
With the mesh complete, the next step is to apply textures. RealityCapture uses the original photographs to project color information back onto the model’s surface. This process generates high-resolution texture maps, typically in the form of UV-mapped image files (e.g. JPG or PNG), which are wrapped around the 3D geometry.
The quality of the final texture is directly tied to the lighting consistency and exposure settings across all 160 images from the first capture. Color normalization and blending techniques within the software ensure that there are no visible seams where images overlap, producing a clean, photorealistic result suitable for digital viewing, presentation or further integration into 3D workflows.

Conclusion
The full-body photogrammetry process, as demonstrated with this mannequin scan, involves a tightly controlled sequence of steps, each essential to capturing and reconstructing the subject with high accuracy. From synchronized camera capture to precise alignment and mesh generation, the result is a geometrically faithful and visually accurate 3D model.
By combining high-quality photographic data, calibrated hardware, and advanced software tools like RealityCapture, full-body scanning continues to be a cornerstone technology for industries requiring digital human representation, precision measurement and scalable 3D asset production.


