Creating Unique Jewelry using 3D Scanning
The use of 3D scanning in art and design is no longer limited to industrial applications. Increasingly, it is being adopted by artists and craftspeople to help them realize their ideas and concepts. One such artist is Carl Krüger, a goldsmith based in Berlin, with a project goal of incorporating nature and heritage into a jewelry design. He contacted botspot to use photogrammetric scanning to help him turn two chestnuts into finely crafted and unique jewelry pieces.
This article follows the step-by-step journey of this project, showing how high-resolution scanning can be used not just to replicate, but to enhance and evolve organic forms into unique, wearable artworks.
Step 1: Scanning the Chestnuts
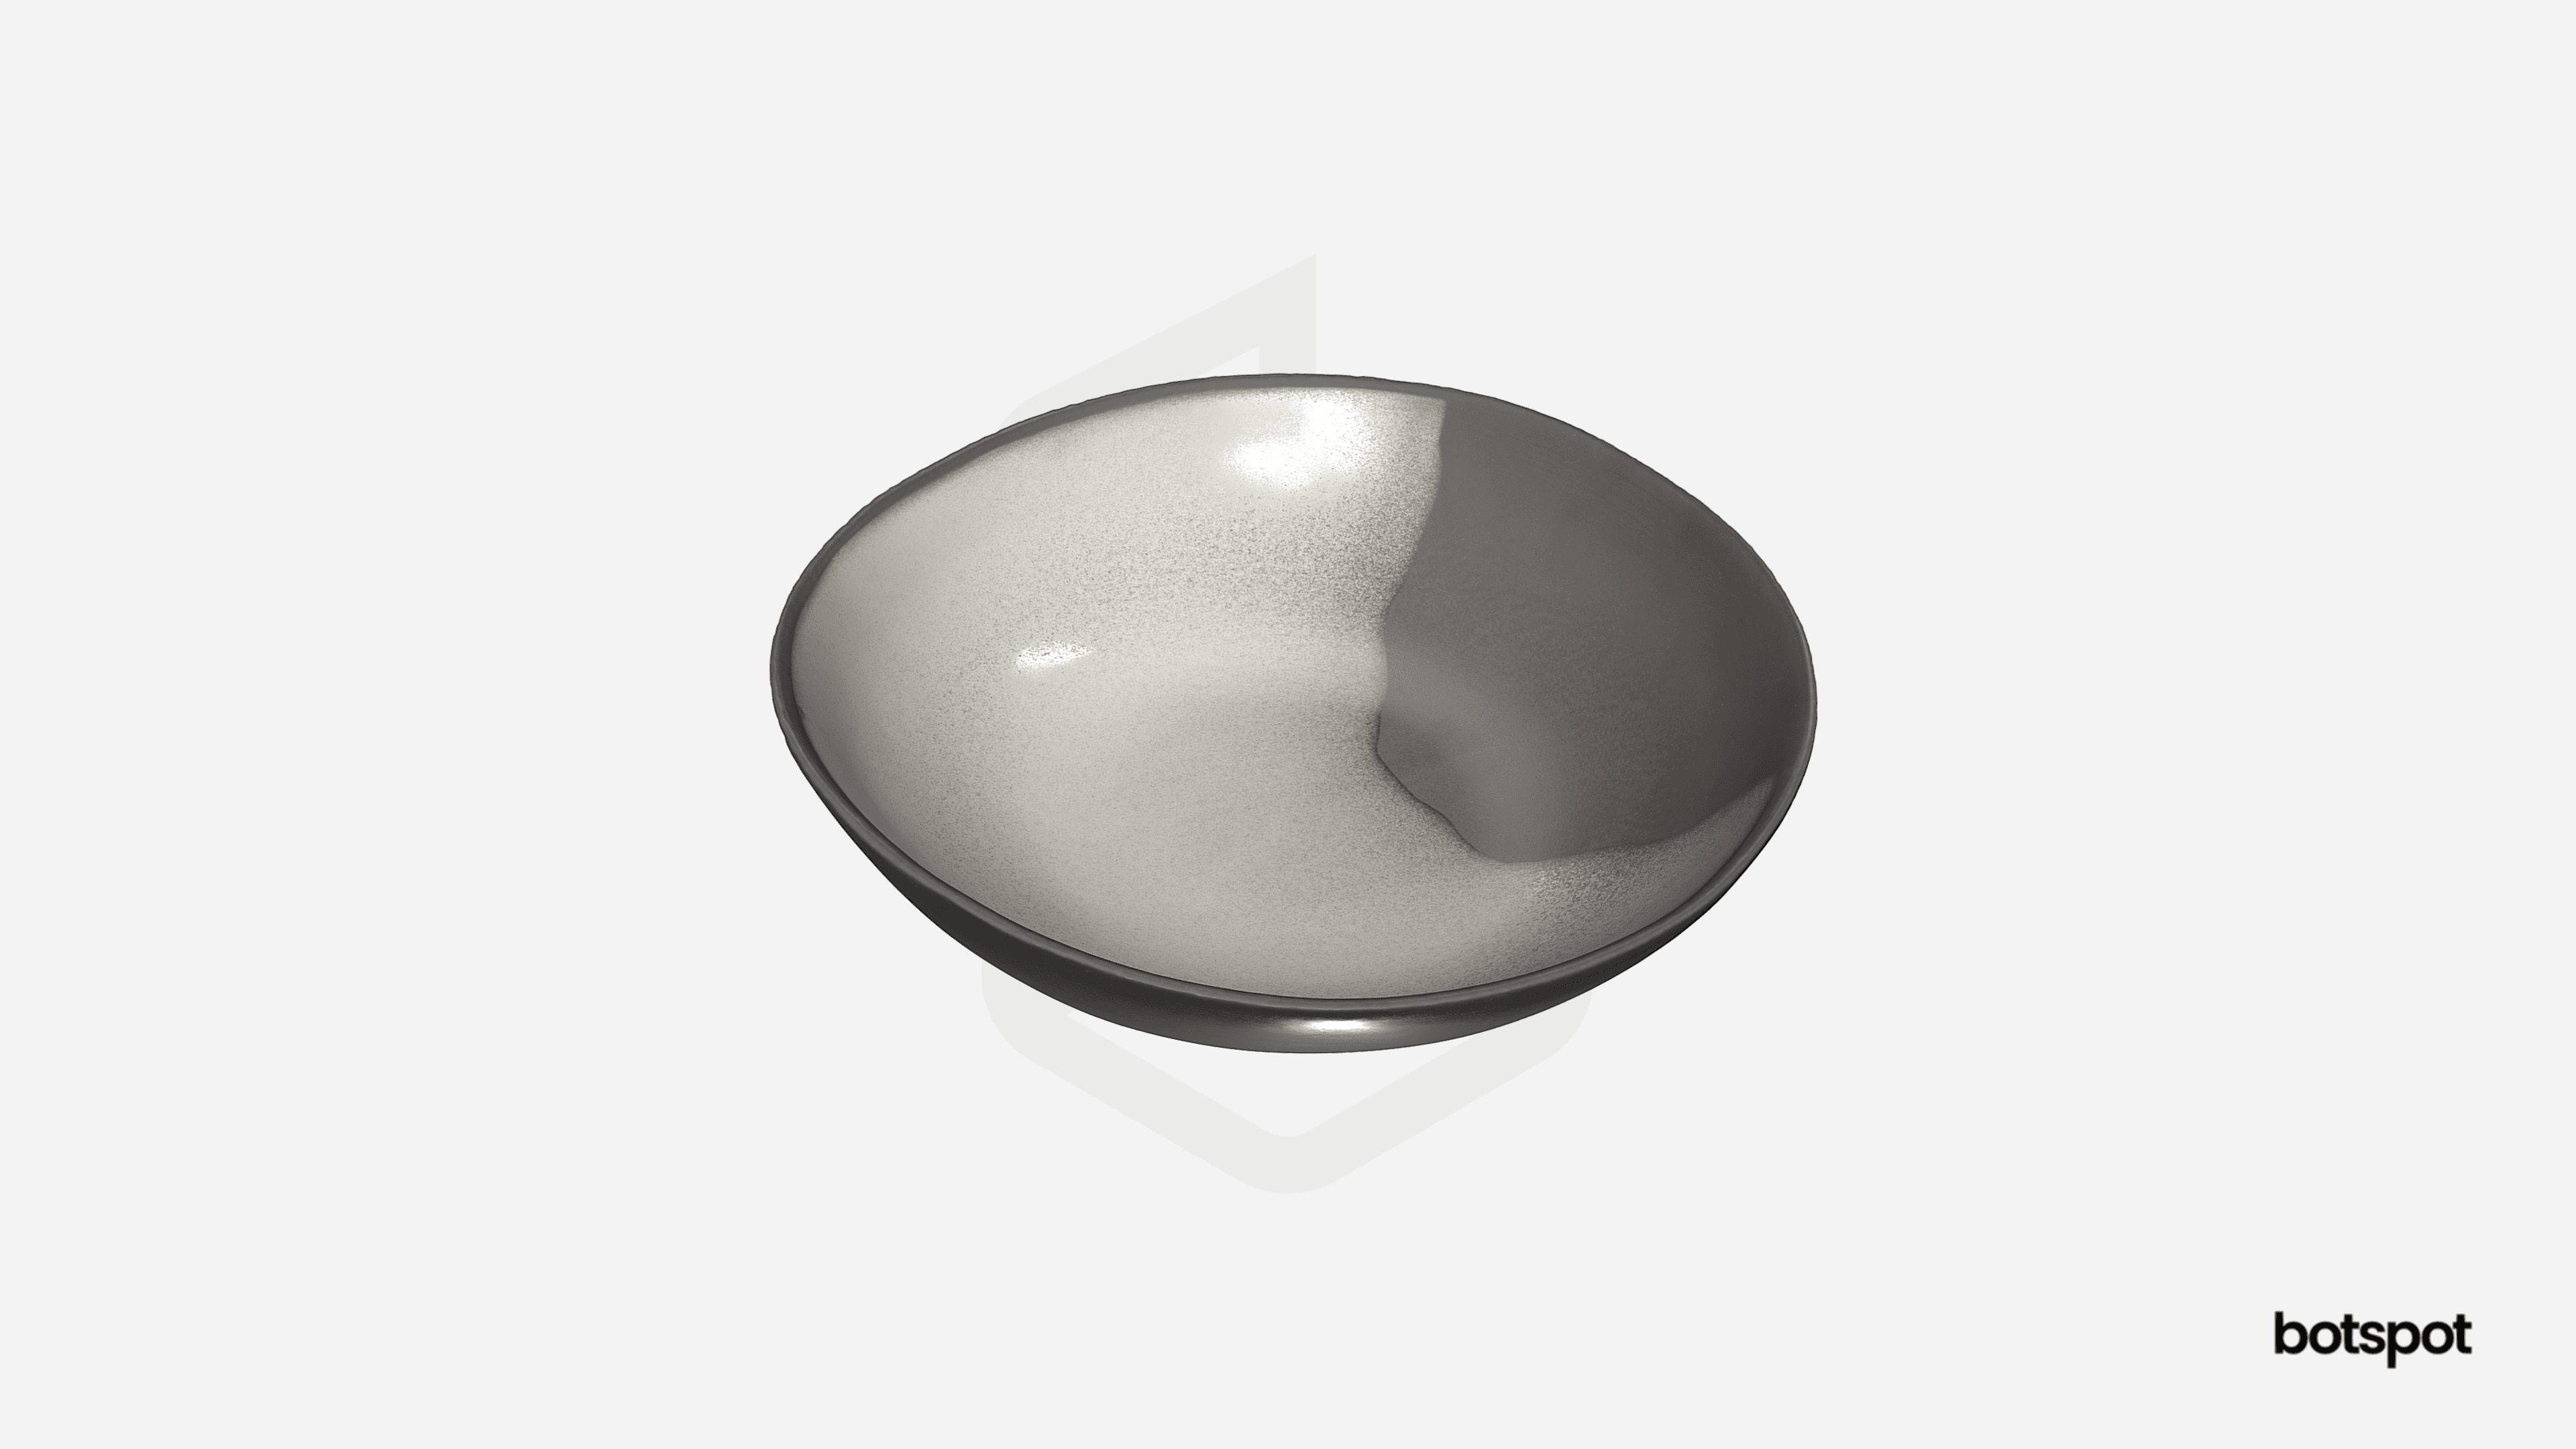
The process began with the digitization of two chestnuts, carefully chosen by Carl for their size and shape and sourced from his family home, and scanned using botspot’s Studio Scanner. The scanner captured two sets of images, one with Digital Spray and one without, which were then used by photogrammetry software to piece together accurate three-dimensional data of the chestnuts, creating the 3D model. The result was an accurate digital reconstruction of each nut’s shape, surface detail and texture, including the distinctive white patch found on every chestnut, an important aspect for this use case.
Step 2: Digitally Enhancing the 3D Models
Traditionally in jewelry making, unique forms are easily replicated using silicone molds. However, in this particular use case, Carl needed the two regions of the chestnut, the brown outer shell and the smooth, lighter-colored white spot, to be treated as separate entities. Each section was to be cast in a different metal and have its own features. 3D scanning allowed these regions to be accurately mapped due to the texture differences and then digitally separated to create two parts which fit into each other seamlessly.
The two components then had their wall thickness adjusted for their intended function: the brown outer shell was given a thinner wall to reduce weight, while the white patch was made thicker to provide the structural strength needed for stone setting and mechanical fastening. By doing this digitally in software, each area could be adapted for its intended use without altering the natural appearance and structure.
Step 3: Preparing the Models for Casting with 3D Printing
The white spot components were prepared for production using 3D printing. Before printing, they were slightly enlarged to compensate for expected material shrinkage during the casting and polishing stages. To print these pieces, a software added fine support structures that hold the model in place during the printing process and ensure dimensional accuracy.
Once printed, these resin models were integrated into what’s known as a wax tree. In jewelry making, a wax tree is a framework that holds multiple pieces (in this case, the printed white spots) using wax branches, all connected to a central wax base. This assembly creates a pathway for molten metal to flow into the final mold and reach every component evenly.

Step 4: Lost Wax Casting
To turn the 3D-printed components into metal, the pieces were first attached to a wax structure and embedded in investment material that solidifies, forming a mold. Once the mold had fully set, it was heated in a furnace, causing the wax and resin to melt away and leave behind empty cavities in the exact shape of the original part, a traditional process known as lost-wax casting.
With the mold still hot, it was placed in a casting machine and filled with molten 18-karat white gold, which flowed into every detail of the empty form. After cooling, the outer mold was broken apart to reveal the newly cast gold components, precise replicas of the white spots. The same process was later repeated using bronze to produce matching replicas of the chestnut shells.
Step 5: Assembling the Parts
Once cleaned, the white gold and bronze parts were fitted together. The white patches, now cast in gold, were inserted into the original chestnut shells that had been carefully hollowed out and prepared, or their bronze replicas. Because the digital models matched the scanned geometry exactly, the fit was seamless.
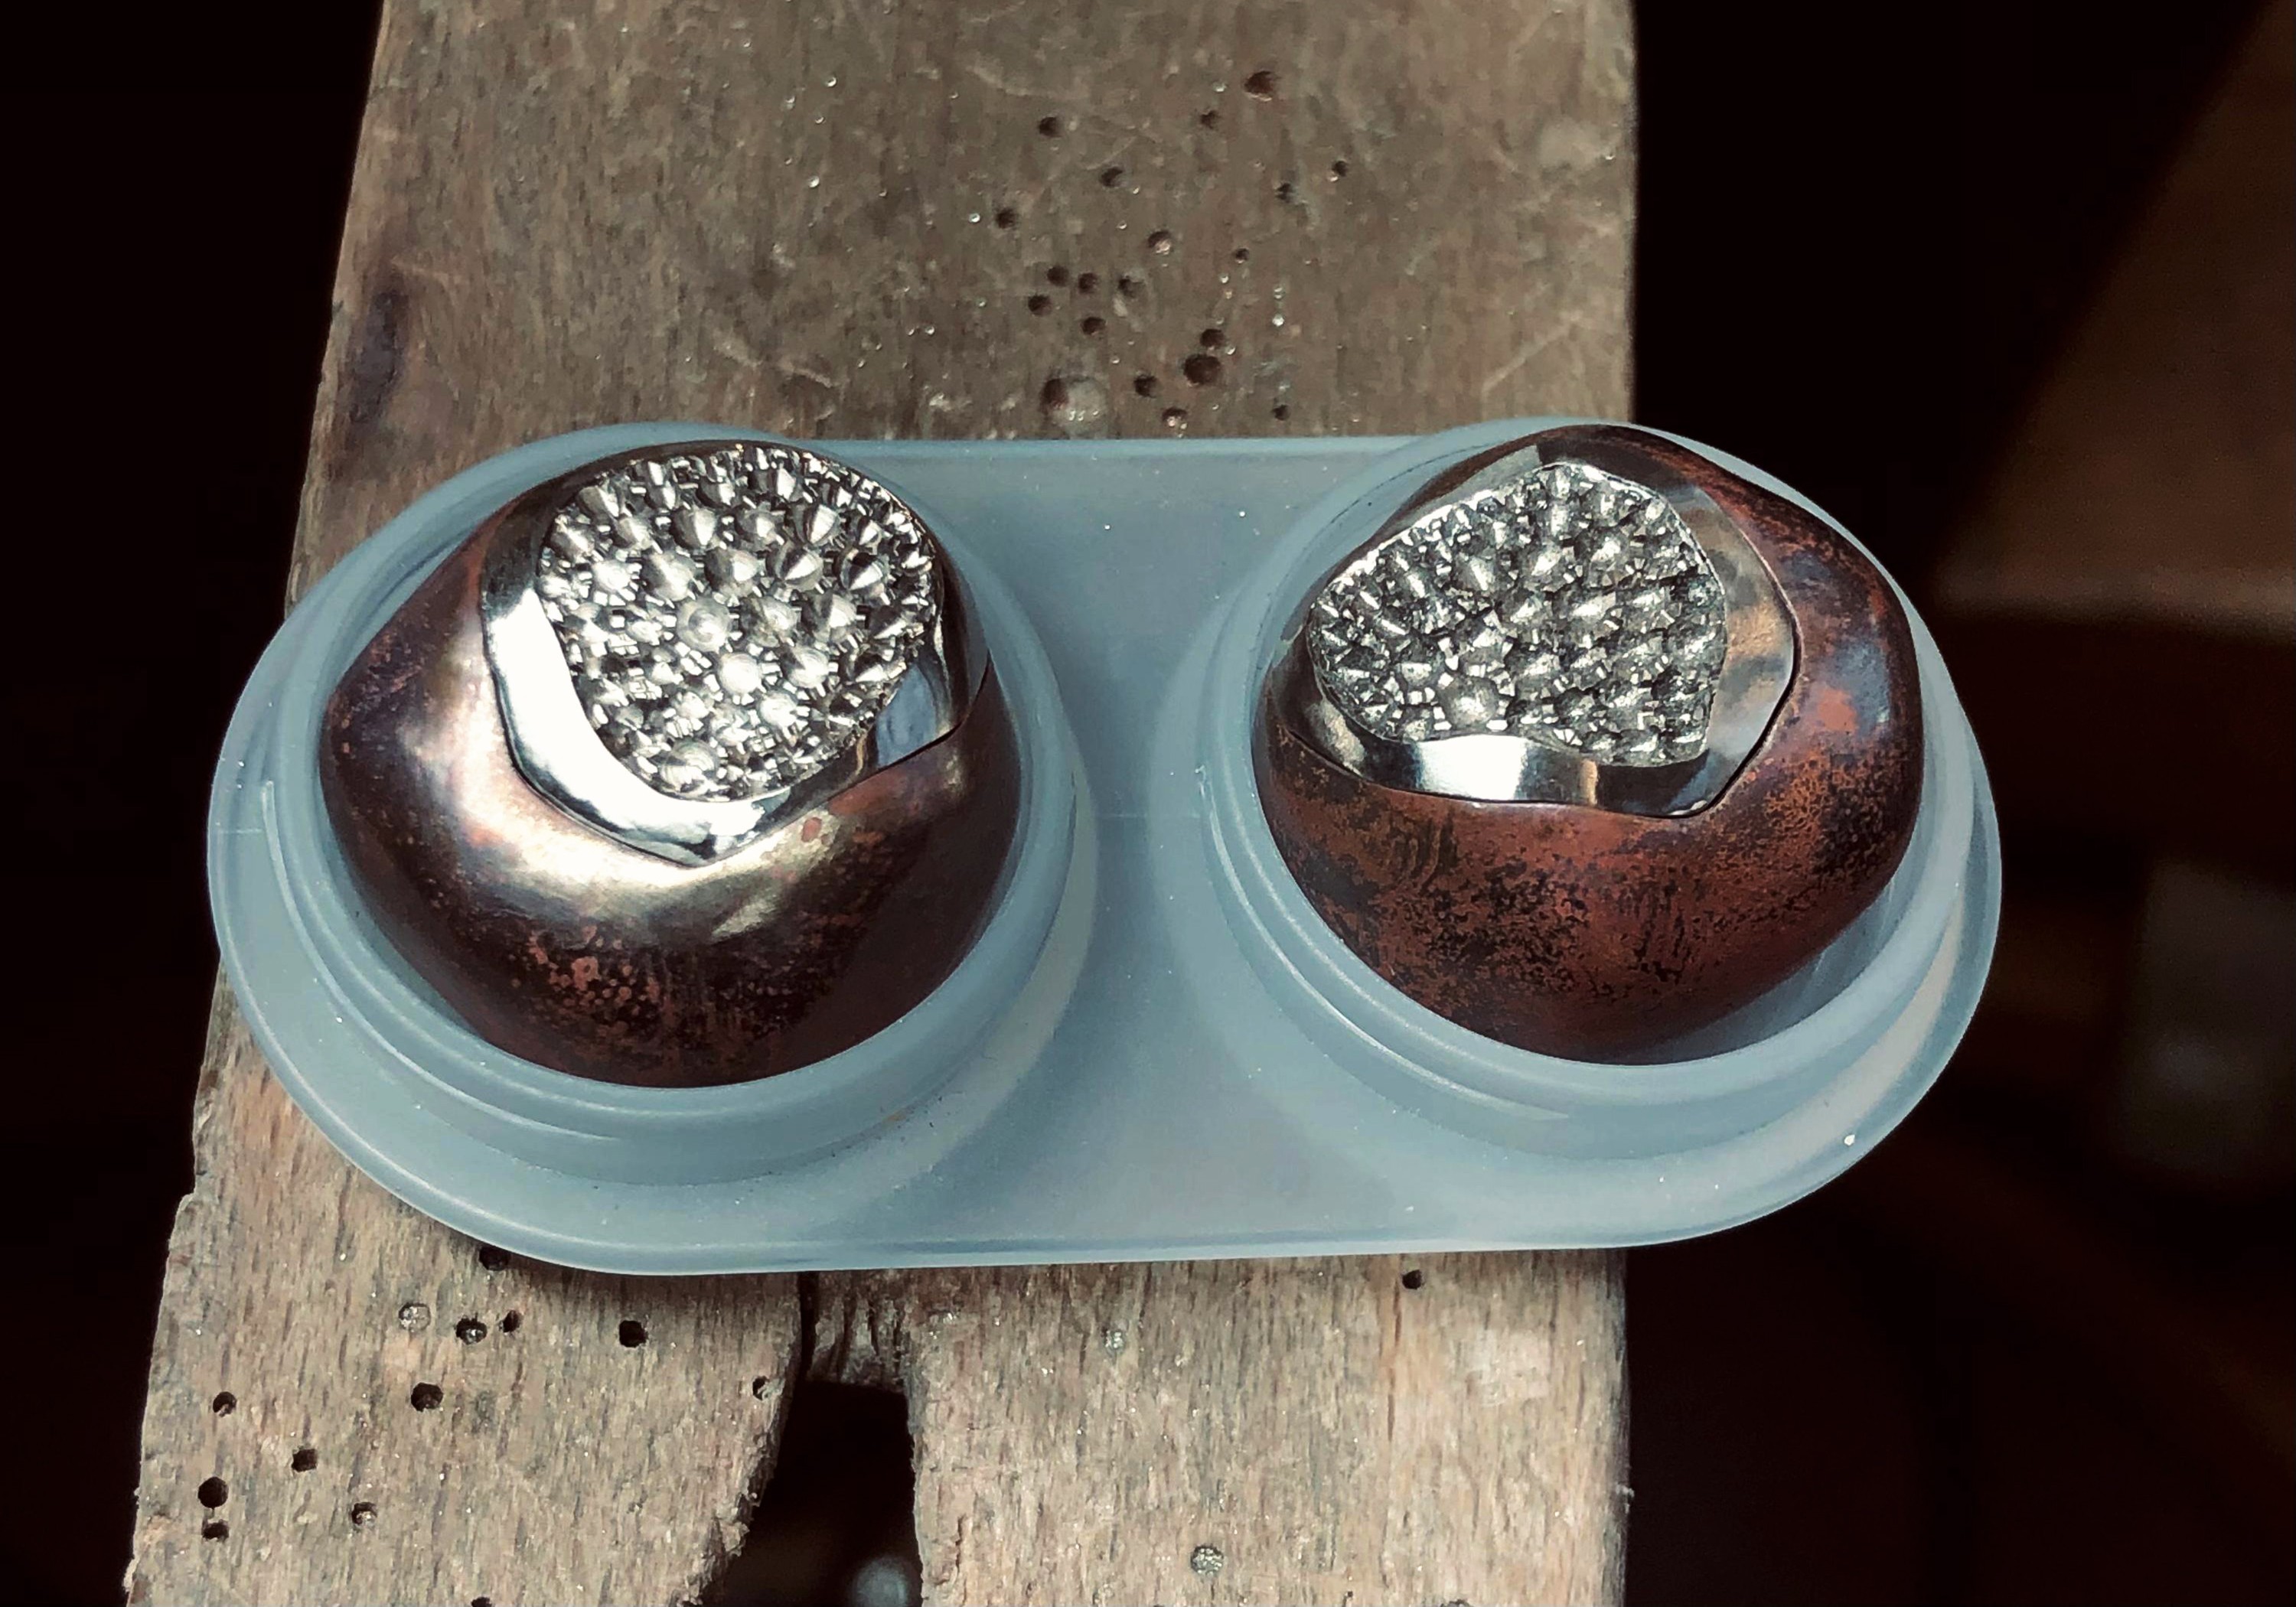
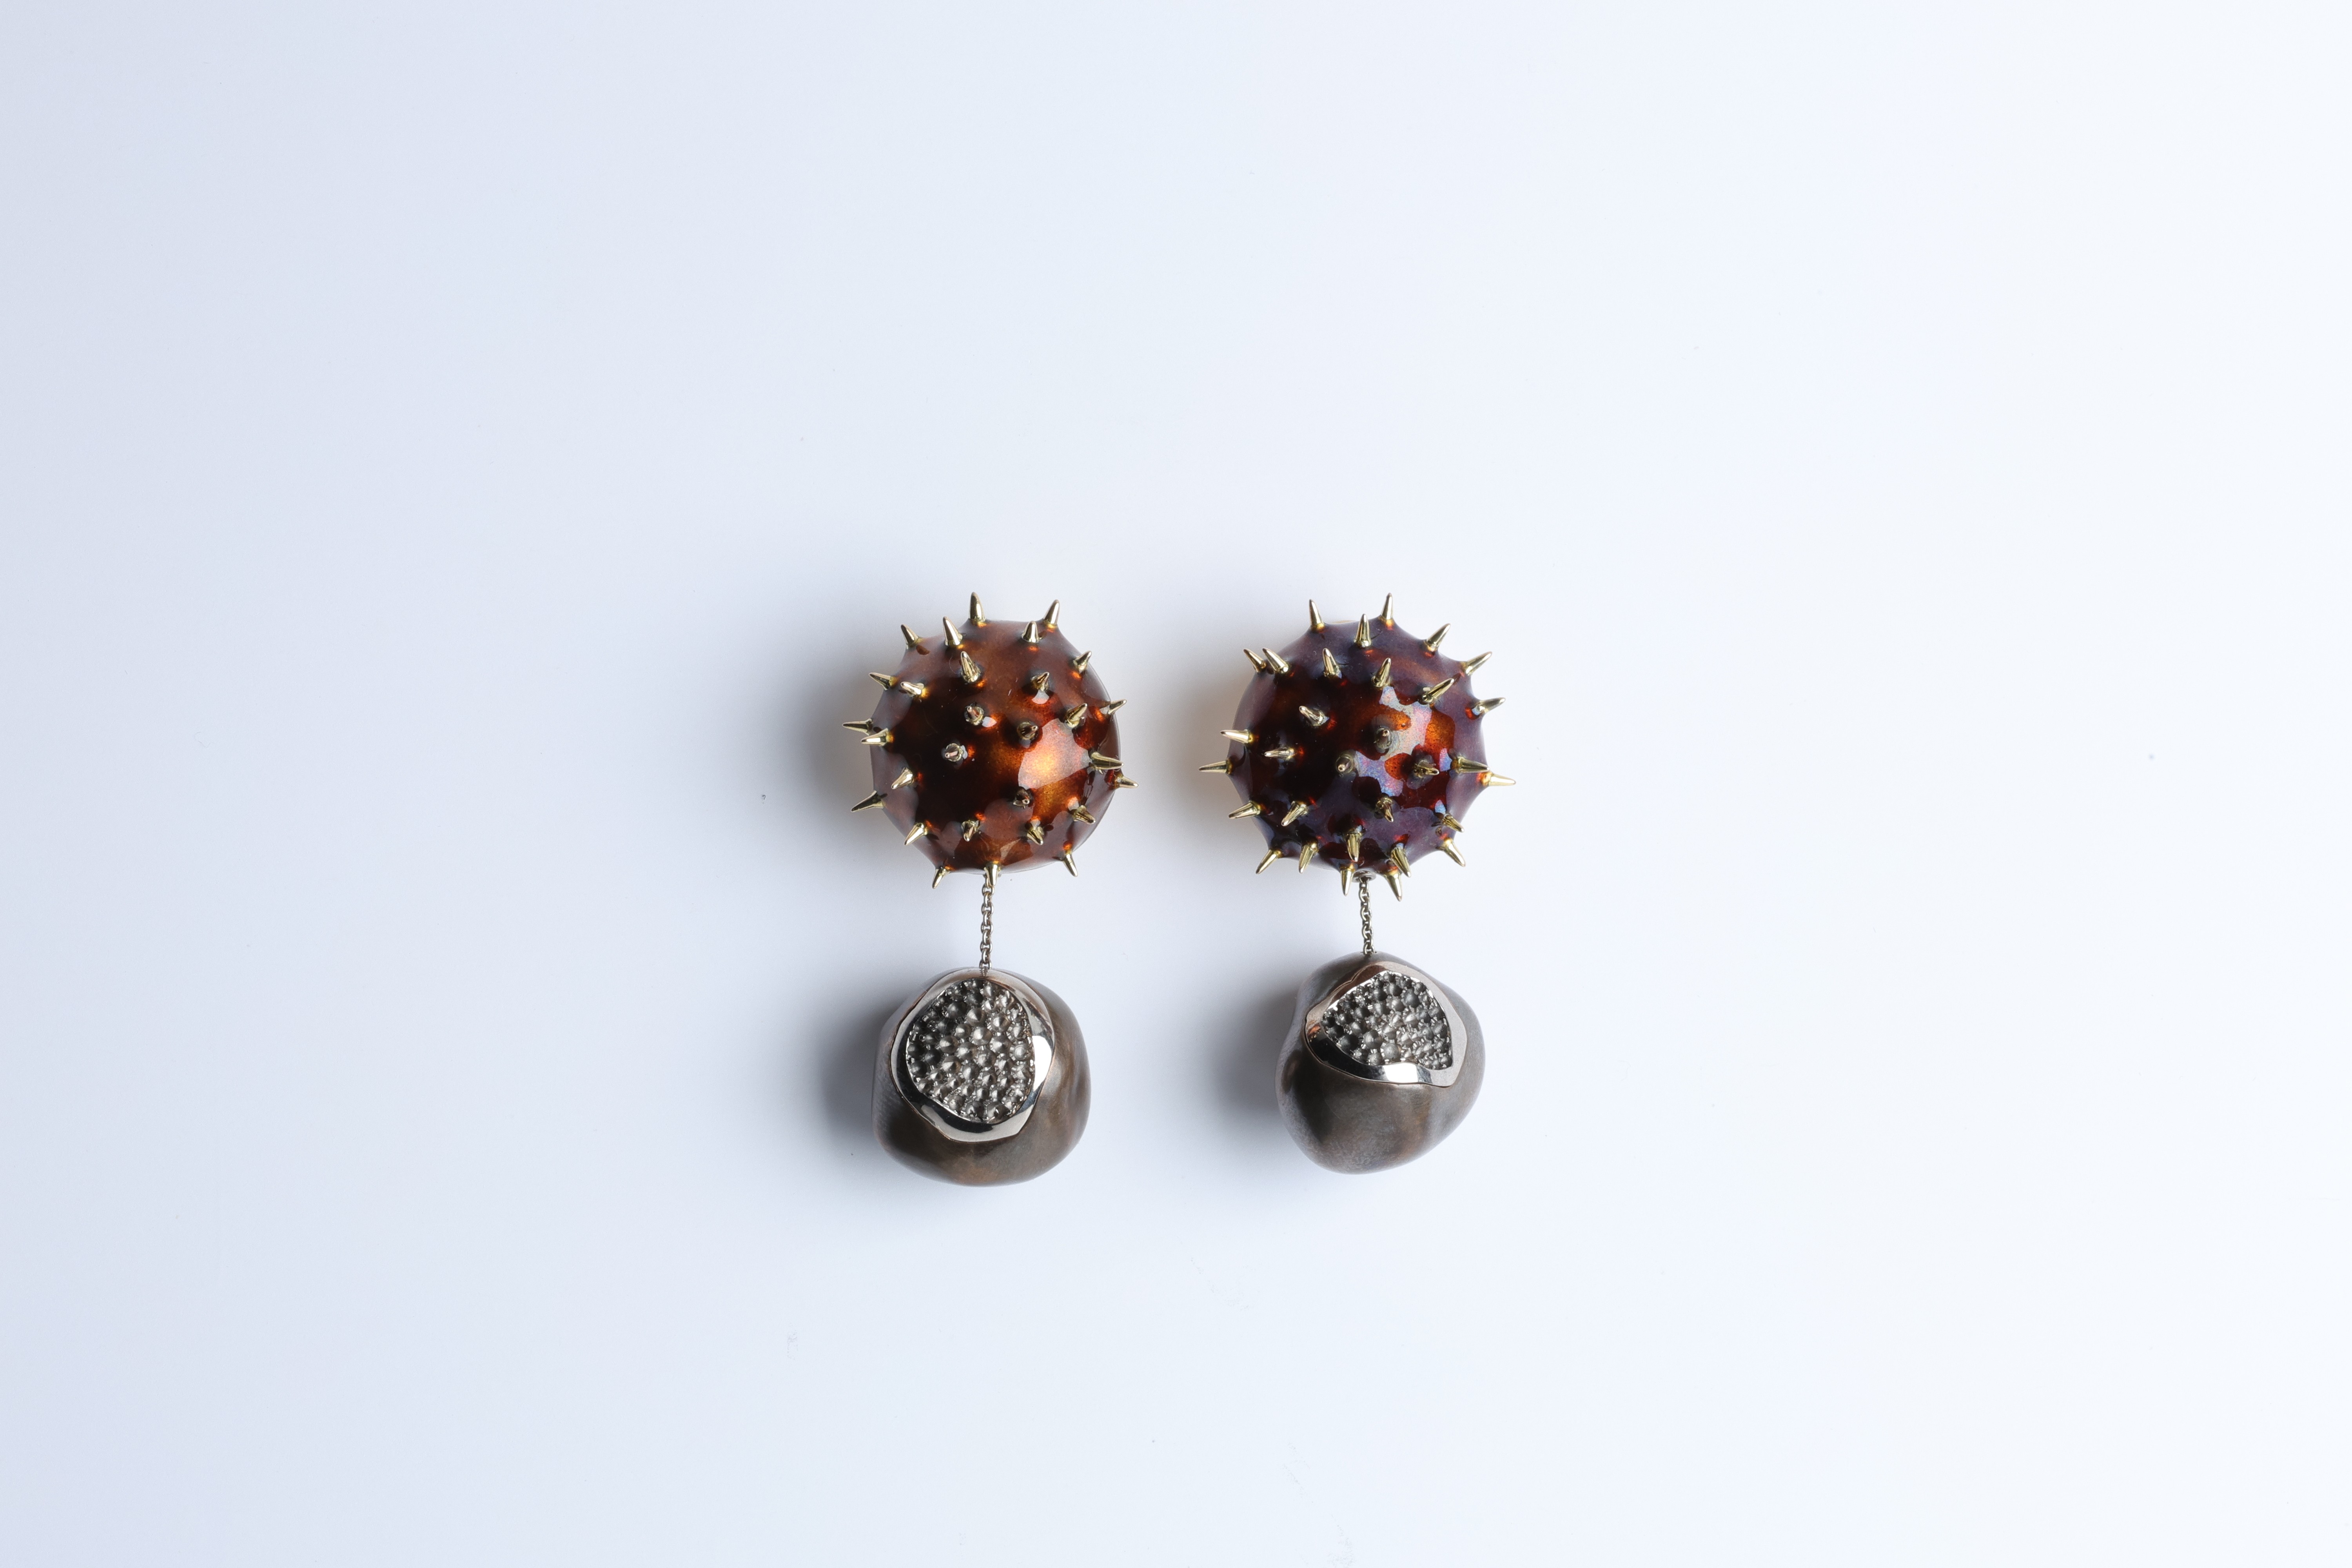
With everything assembled, the surfaces were refined. The white gold areas were prepared by a master stone setter, who drilled tiny indentations into the surface to hold white and brown diamonds. The bronze shells were given a matte, brushed finish, while the gold elements were polished to a high shine. The combination preserved the chestnut’s original shape and color contrast, but now with a durable, high-end material aesthetic.
The End Result
The final result includes two configurations for each side: one with the original hollowed-out chestnut shell and one with a bronze replica. Both can accept the same white gold insert, thanks to the precise geometry enabled by the digital workflow.
While traditional jewelry methods can replicate forms using silicone molds, this project highlights the unique advantage of 3D scanning: the ability to digitally separate surface textures, adjust wall thickness, and design mechanical features like angular edges and fastening systems, all while preserving the natural geometry of the original object.
This process illustrates how modern 3D technologies can extend traditional craftsmanship, offering new possibilities in custom design, manufacturing precision, and material flexibility.
Follow Carl Krüger on Instagram at krueger.jewellery.